Friday, December 31, 2010

How to make a camera strap cover

Happy New Year's Day! Let's start this year off with a give away. I spent several hours updating my camera strap covers today. I am going to give away one camera strap cover on Friday. To enter all you have to do is click on the camera strap cover button and tell me which one you would like to win. I will pick a winner on Friday night.
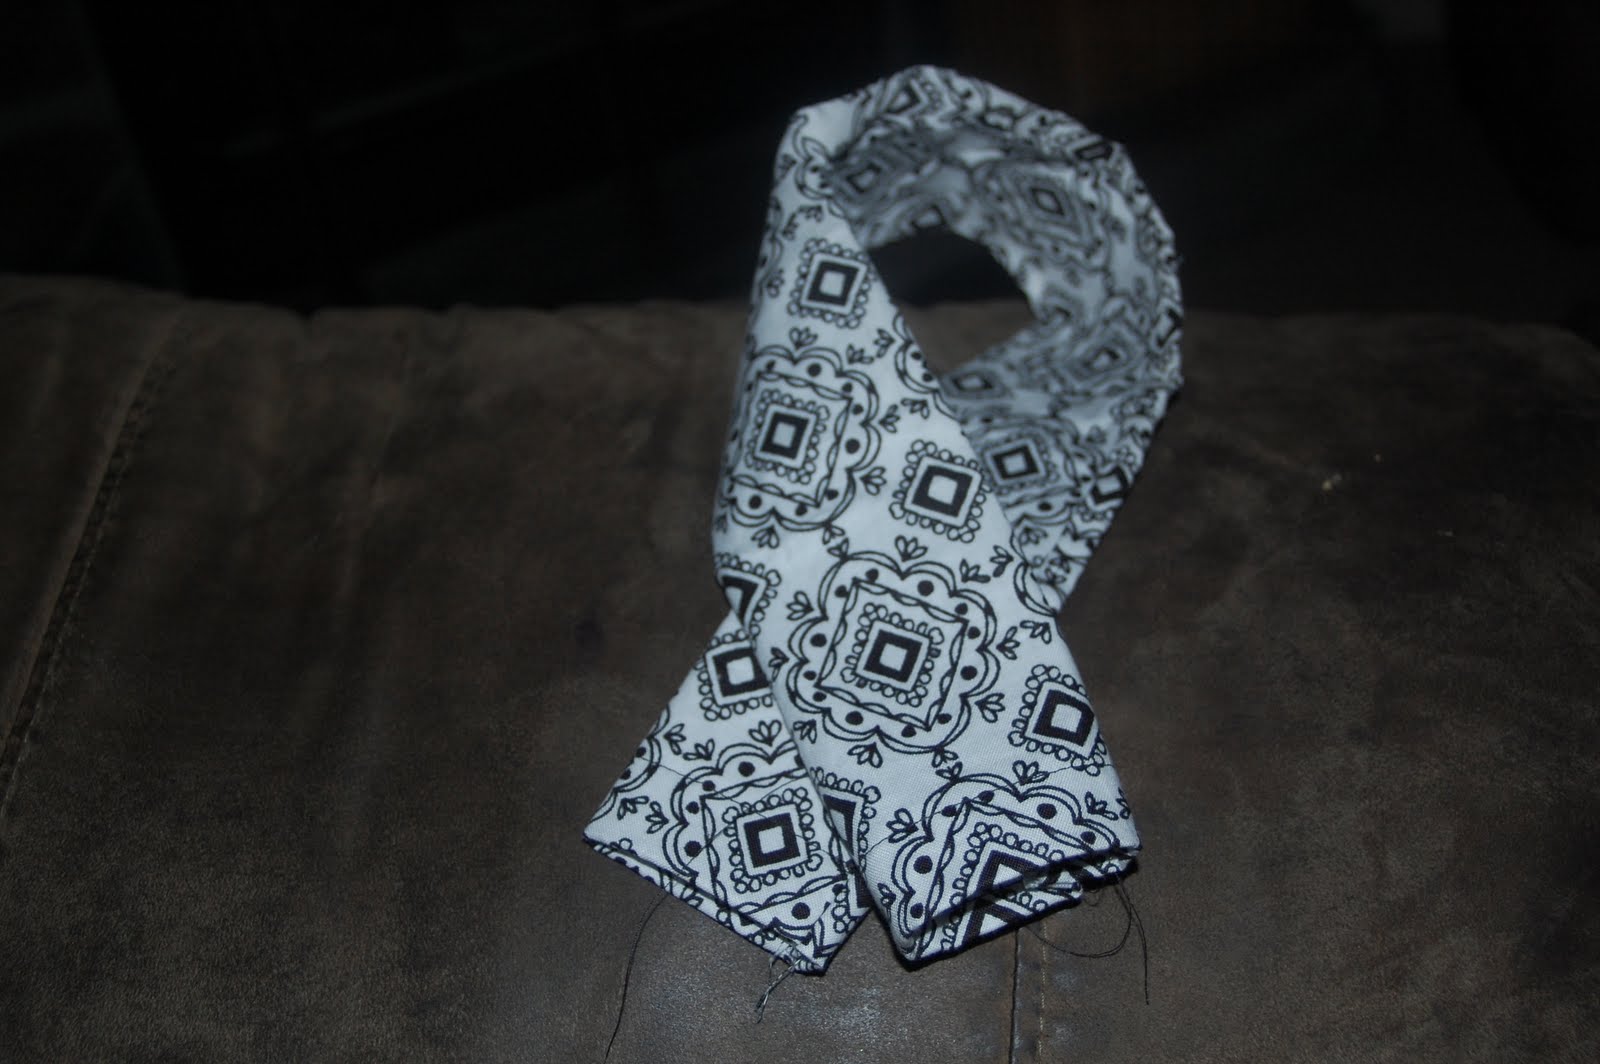
If you do not want to wait to see if you won or if you want to purchase one without paying shipping now is the time. Somehow I did not add shipping to my paypal account so if you order you are getting a camera strap cover for $10. If you do not like paypal you can pay by check but I will need to receive the check before shipping.
Okay, this is easy just leave me a comment to tell me which one you would like to win and make sure I have a way of contacting you.

Wish me luck I have never taught anyone how to do anything.
Step one
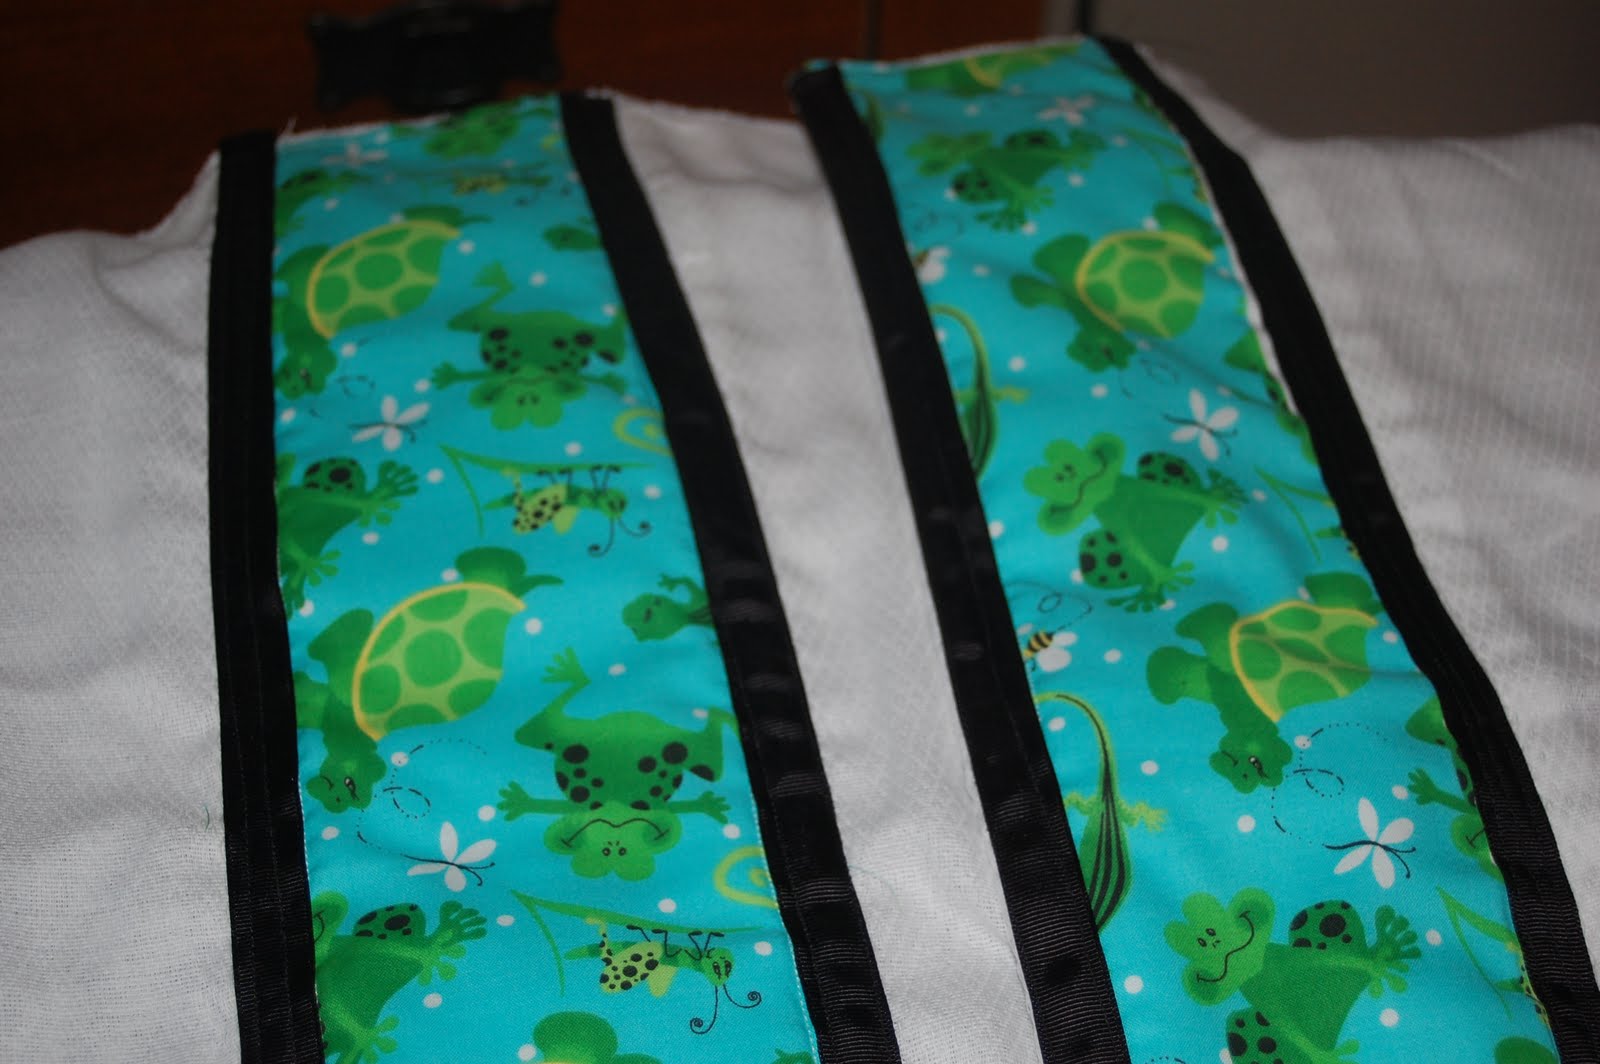
Cut material- 27 inches long but 5.5 inches wide or if you want the back to be different from the front then use two pieces 2.75 inches wide.

Step 2- This is not a must but I add a piece of fusible webbing for added cushion

Step 3 Fold each end down half a inch and hem, repeat again
Sorry I forgot the picture
Step 4- fold the fabric in half length wise and sew up the unopened side. Make sure you have the fabric turned inside out
Step 5- turn the fabric inside out, it is like unrolling a sock. I have heard using a wooden spoon stuck down the middle will help push it through. I just pull the fabric slowly
Number 25 brown dots both sides $10
Number 24-brown dots front, brown back $10
Number 23 - camo both sides $10

Sunday, May 23, 2010

number 19 bright blue with red and pink $10

number 20 light blue with green and blue flowers $10

number 20 white with hot pink and green flowers

number 21 off white with blue and pale green $10

number 22 BRIGHT pink and green $10-SOLD OUT

Sunday, May 2, 2010

Number 16 Black and white both sides

Number 17 2pack burp cloth with green frogs $10 for 2

Number 18 2 pack burp cloth Blue with puppies $10 for 2

Monday, April 19, 2010

Camera Strap Covers

Camera Strap covers are $12 which includes shipping inside the U.S..
Covers are 26 inches long and 2.5-3 inches wide.

NUMBER ONE AUBURN

NUMBER TWO- BROWN & ORANGE STRIPED- BROWN BACK


NUMBER THREE- BLUE FLOWER-SOLD OUT

NUMBER FOUR- GREEN SIDE STRIPES

NUMBER FIVE- GREEN LONG STRIPES

NUMBER SIX-DOTS WITH BROWN BACK

NUMBER SEVEN- BLACK & WHITE WITH BLACK BACK-SOLD OUT

NUMBER EIGHT- PINK AND ORANGE

NUMBER NINE- BURGUNDY WITH FLOWERS

NUMBER TEN- PINK HEARTS

NUMBER ELEVEN- CAMO WITH BLACK BACK-SOLD OUT

NUMBER TWELVE- AUBURN WITH ORANGE BACKGROUND

NUMBER THIRTEEN- POLKA DOTS BOTH SIDES

NUMBER FOURTEEN-AUBURN ORANGE BACK

NUMBER FIFTEEN-AUBURN BOTH SIDES

Friday, April 16, 2010

Borax Snowflakes


We made borax snowflakes, it was really easy and fun. We made 4 of them and gave them to grandparents when they visited. Our biggest challange was finding a jar with a wide enough mouth. I copied the directions from about.com
Here's How:
1.Cut a pipe cleaner into three equal sections
2.Twist the sections together at their centers to form a six-sided snowflake shape. Don't worry if an end isn't even, just trim to get the desired shape. The snowflake should fit inside the jar.
3.Tie the string to the end of one of the snowflake arms. Tie the other end of the string to the pencil. You want the length to be such that the pencil hangs the snowflake into the jar.
4.Fill the widemouth pint jar with boiling water.
5.Add borax one tablespoon at a time to the boiling water, stirring to dissolve after each addition. The amount used is 3 tablespoons borax per cup of water. It is okay if some undissolved borax settles to the bottom of the jar.
6.If desired, you may tint the mixture with food color.
7.Hang the pipe cleaner snowflake into the jar so that the pencil rests on top of the jar and the snowflake is completely covered with liquid and hangs freely (not touching the bottom of the jar).
8.Allow the jar to sit in an undisturbed location overnight.
9.Look at the pretty crystals!!! You can hang your snowflake as a decoration or in a window to catch the sunlight :-)